Get Started | User Authentication in your App
A typical first step in every app is user authentication. This generally involves a login form where users enter their credentials. Note that mesibo does not recommend or enforce any particular authentication method. You can use any authentication mechanism suitable to your app, for example, email, phone, user-id, LDAP, RADIUS, OAuth2, Kerberos, SAML, fingerprint, etc. All you need to do is to generate a mesibo access token for the user only after your user passed your authentication.
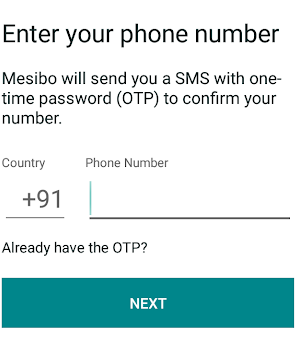
For example, in our Open-Source Messenger Demo, we have used phone-based authentication.
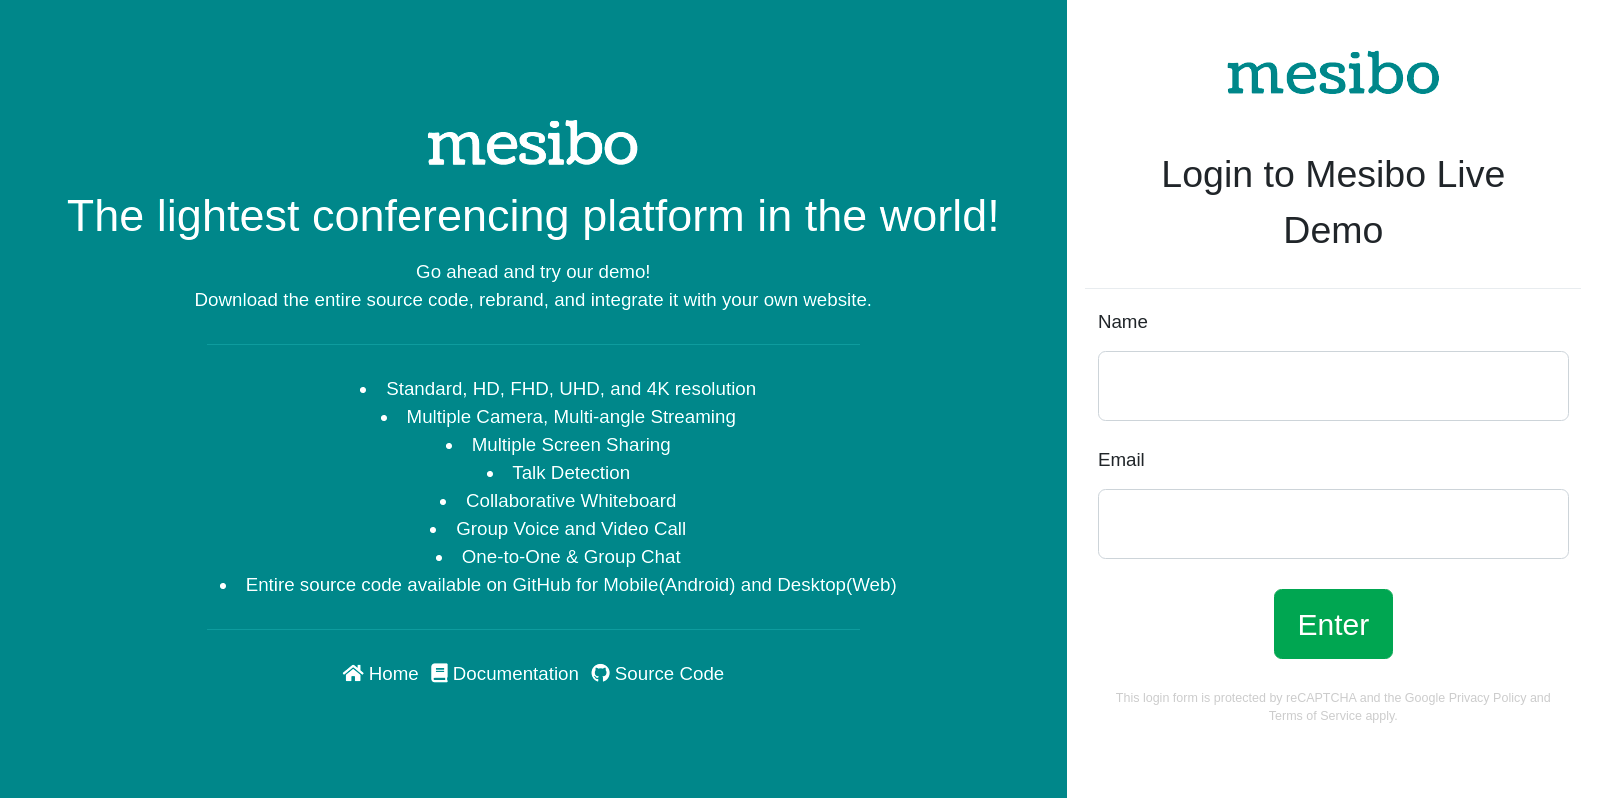
However, it is not necessary to use the phone number; in our Open-Source Conferencing Demo we are using an email-based authentication.
Here is a typical mesibo app flow for each user:
- Authenticate your users from your backend, by any method of your choice - email, phone-number, OAuth2, etc.
- Create a mesibo access token for each authenticated user using mesibo backend API
- Give respective access tokens to your users.
- Your user uses this access token in mesibo Real-Time SDK to create a real-time connection with the mesibo server to send and receive real-time messages, voice, and video calls.
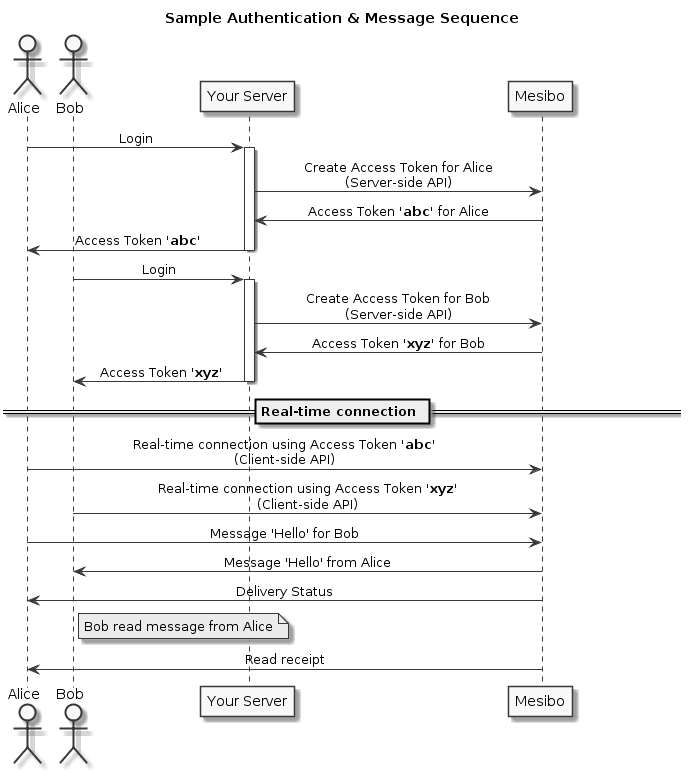
A more elaborate real-life scenario below in which Alice and Bob register with your backend, each gets real-time access token from mesibo and starts communication in real-time.
Once you have completed your authentication step, you can create mesibo users and generate an access token for them as explained in the section Create Users